
Clothing Photography Guide: Shoot Like a Pro Studio
Learn professional clothing photography — equipment, flat lay vs ghost mannequin vs model shots, lighting setup, workflow, and ecommerce image requirements
September 3, 2026 · SetlesStudio Team

Anyone who has run an online clothing store for more than a few months learns the same lesson eventually. The photos aren't decoration. They're the entire sales pitch. A shopper can't touch the fabric, try the fit, or see how a hem moves when someone walks. All they have is what's on screen, and that single fact is why clothing photography deserves far more strategic attention than most brands give it.
This guide covers the full picture: equipment, technique, backdrops, workflow, common mistakes, and the commercial decisions that separate a store with genuinely strong conversion from one that's quietly losing sales to unclear imagery.
Why Clothing Photography Is Different From Other Product Photography
Photographing a phone case or a coffee mug is comparatively forgiving. The product doesn't drape, doesn't wrinkle, and looks roughly the same from every angle. Clothing behaves nothing like that.
Fabric catches light differently depending on weave and fiber. A silk blouse reflects light in ways that a cotton tee never will, and a photographer who lights both the same way ends up with one shot that looks premium and one that looks flat. Garments also have to communicate fit, movement, drape, and scale, none of which a flat product photo naturally conveys. That's why the industry developed several distinct shooting methods rather than settling on one universal approach.
Essential Equipment for Clothing Photography
Before getting into technique, it helps to know what's actually needed. This isn't a list of nice-to-haves. Missing any of these tends to show up as a visible weakness in the final images.
Camera and lens. A DSLR or mirrorless camera with manual controls gives the exposure and white balance consistency that clothing needs. A prime lens in the 50mm to 85mm range is the standard choice for apparel, since it minimizes distortion compared to wider lenses that can make garments look stretched or oddly proportioned at the edges of the frame.
Tripod. Handheld shooting introduces small framing shifts between shots that become obvious once a catalog is viewed side by side. A tripod, or an overhead boom arm for flat lay work, keeps every image consistent.
Lighting. Two softboxes with stands cover most needs, along with a reflector to fill shadows on the side away from the main light. Continuous LED panels are a workable alternative for teams that want to see the lighting effect in real time rather than relying on flash.
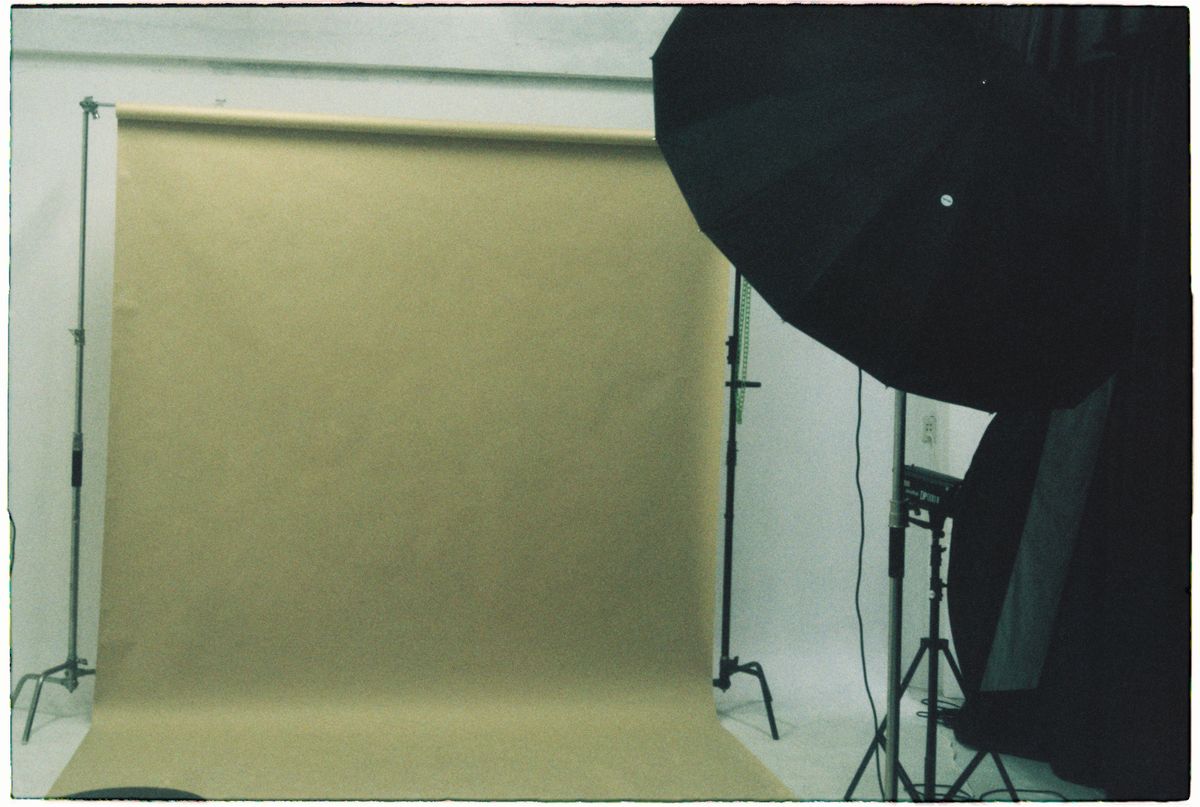
Backdrop system. A seamless paper roll in white, plus a stand to hold it, is the minimum for marketplace ready shots. Fabric backdrops or textured surfaces can be added later for lifestyle or editorial variations.
Mannequin or dress form. Required for ghost mannequin work, and genuinely useful even for flat lay shoots when trying to understand how a garment sits before laying it out.
Steamer. Wrinkles that look minor to the eye become obvious once photographed and enlarged on a product page. A garment steamer is not optional for anyone shooting clothing regularly.
Color checker card. A small, often overlooked tool that calibrates white balance and keeps color consistent across an entire shoot, which matters enormously for reducing returns caused by garments looking a different shade online than in person.
The Core Methods of Clothing Product Photography
Flat Lay Photography
Flat lay clothing photography setup involves laying the garment on a flat surface, styled and shot from directly above. It's popular for a reason: it's fast, relatively affordable, and works especially well for smaller items like accessories, folded knitwear, or layered outfit combinations.
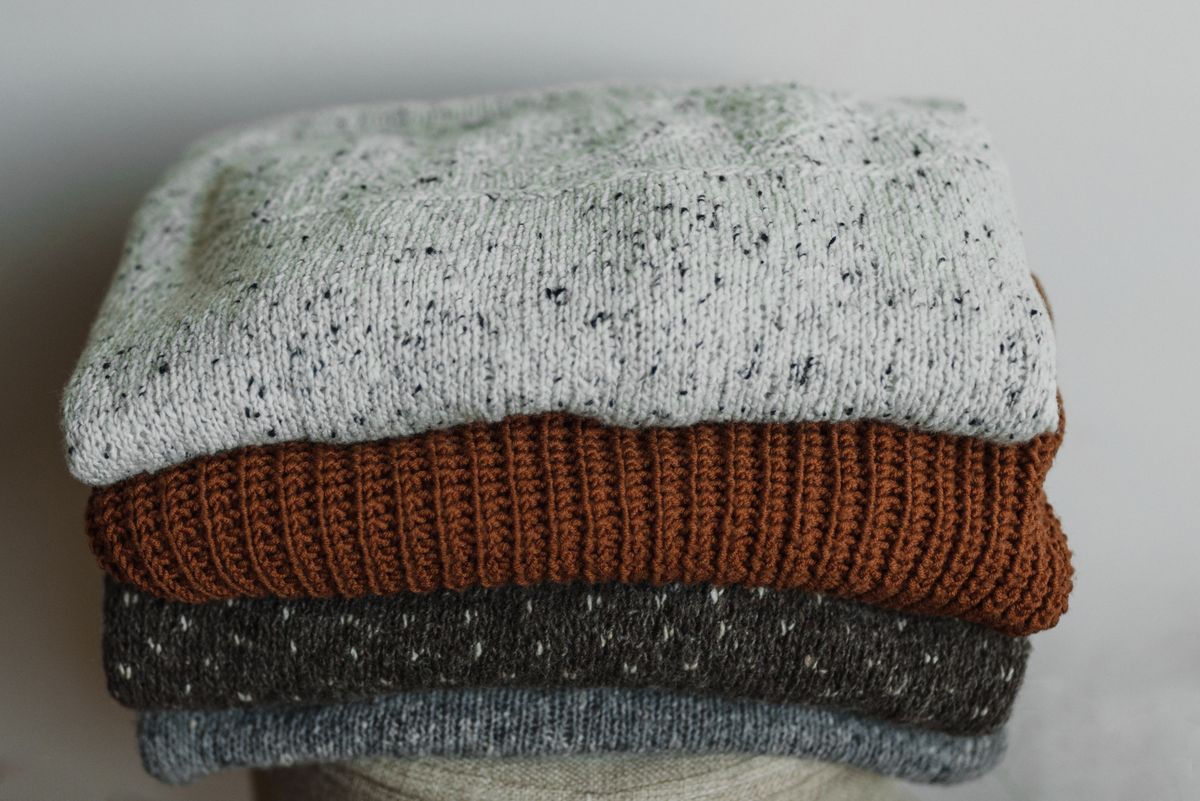
A workable flat lay setup needs a large flat surface, consistent overhead lighting, a tripod with an overhead arm or boom, and pins or tape to hold fabric in place so it doesn't shift between shots. The garment should be steamed beforehand, since even a slight crease can read as a quality issue once zoomed in.
Ghost Mannequin Photography
Ghost clothing photography, also called invisible mannequin photography, shows the garment as if being worn, with no visible model or mannequin. It's achieved by photographing the item on a mannequin, then digitally removing the mannequin in post production, or by shooting the front and back separately and compositing them together.
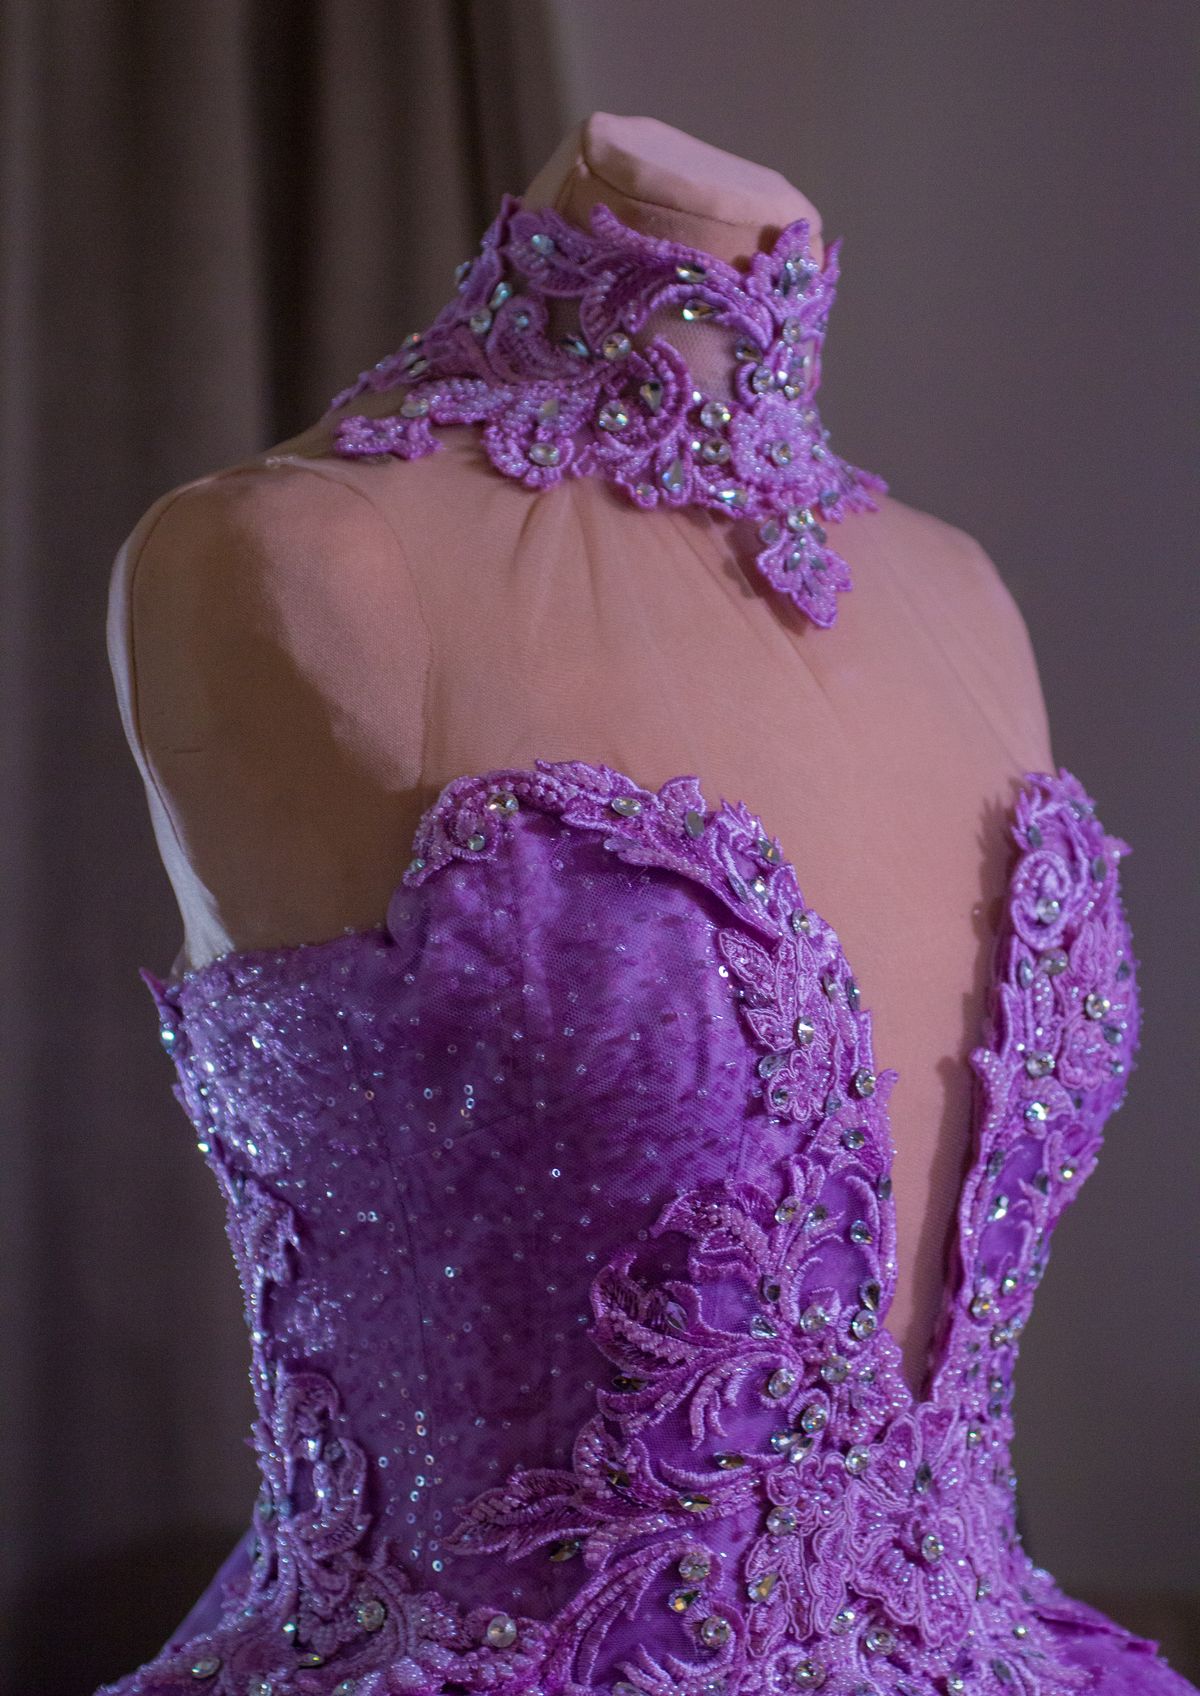
This method is common for structured items like jackets, dresses, and button up shirts, because it shows how the garment holds its shape and drapes on a body, something a flat lay simply cannot demonstrate. It's more time intensive and usually costs more per image, but for higher priced or structured garments the extra clarity often reduces the fit related returns that plague online clothing sales.
Model Photography
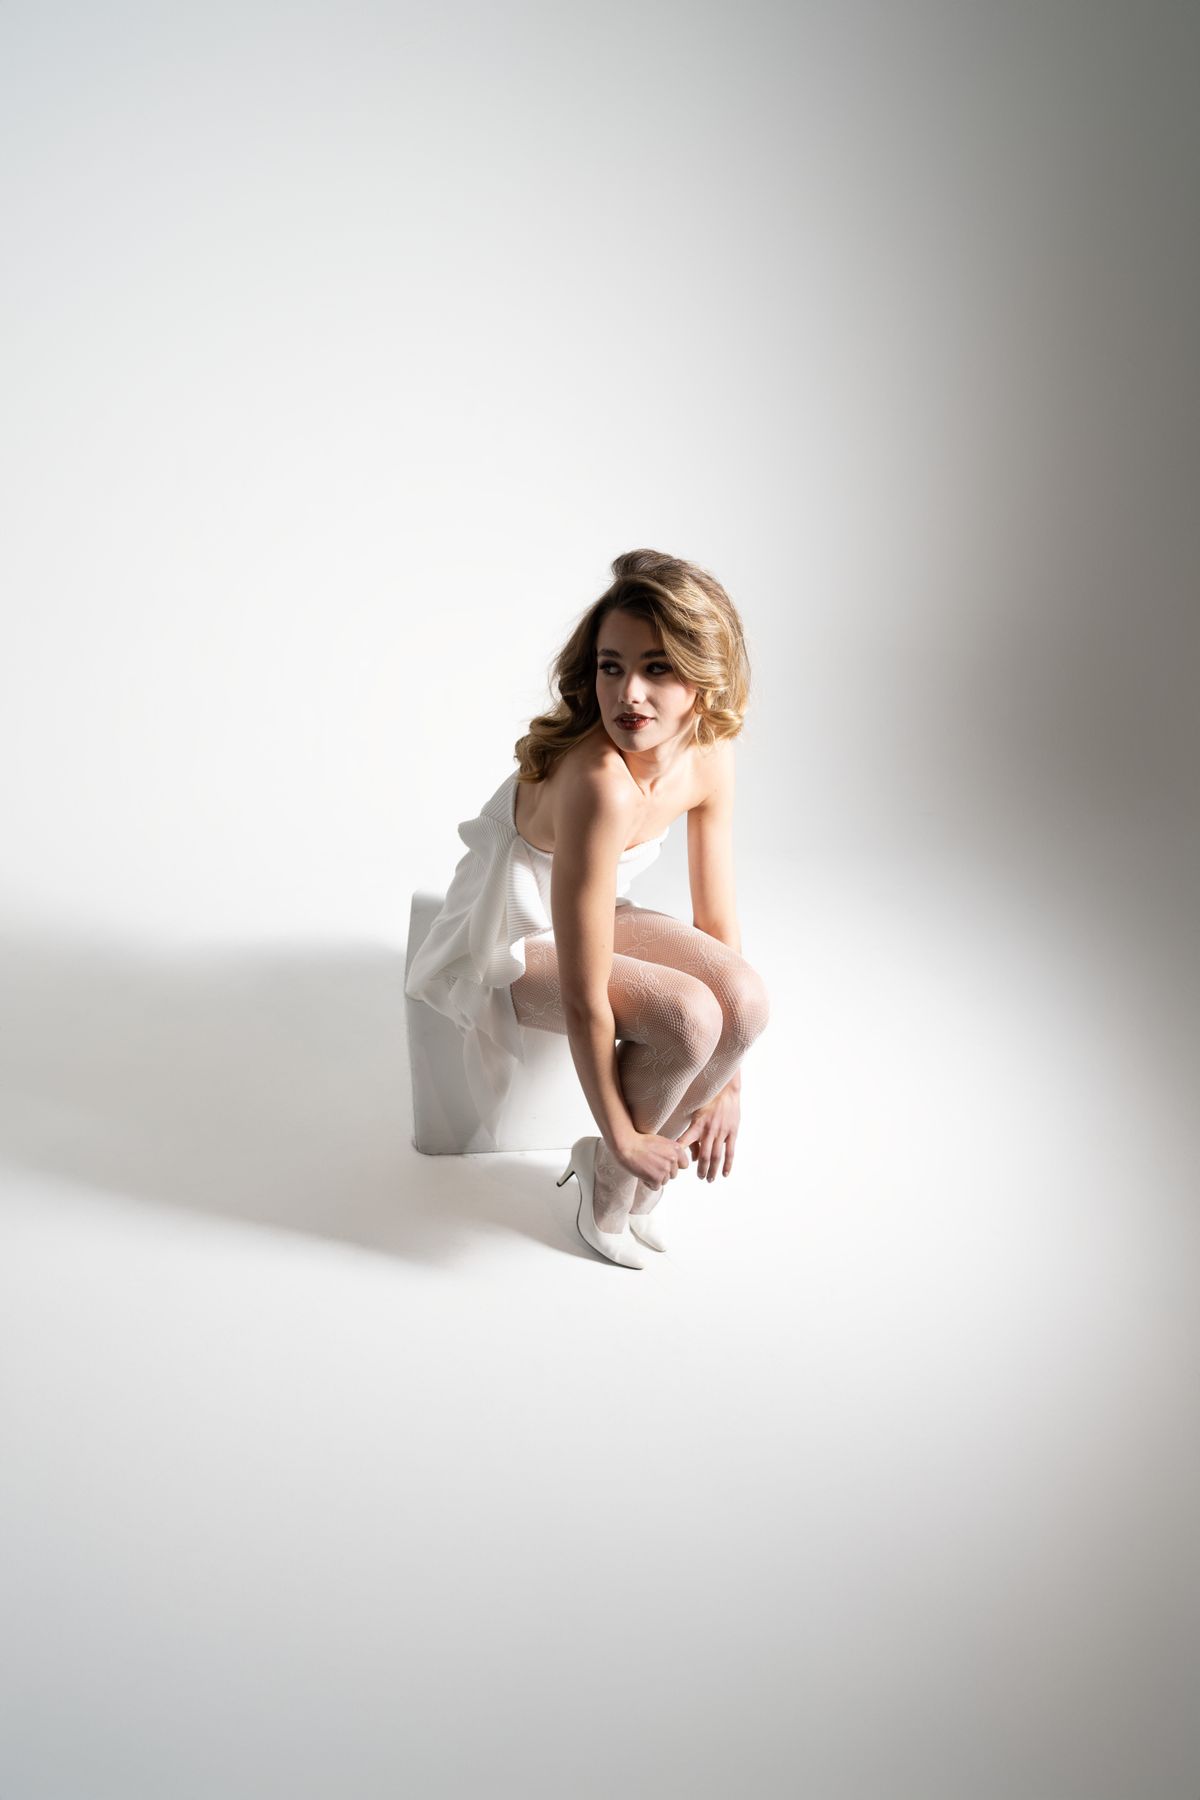
Shooting on a live model remains a strong choice for conversion, particularly for fashion forward brands. It shows fit on a real body, movement in motion shots, and styling context that helps shoppers imagine themselves wearing the piece. It's also the most resource intensive option, requiring a model, stylist, and often a larger studio or location budget, so many brands reserve it for hero products rather than a full catalog.
Choosing the Right Backdrop
Best backdrop for clothing photography depends almost entirely on where the image will be used. For marketplace listings on Amazon, Etsy, or similar platforms, a pure white or off white seamless backdrop is often required by the platform's own image guidelines, not just a stylistic preference. Listings that don't meet these specifications can be rejected or deprioritized within the marketplace's own search results.
For a brand's own website, there's more room to experiment. Backgrounds for clothing photography range from clean studio white, to soft neutral tones like beige or grey that flatter skin and fabric tones without competing for attention, to textured surfaces like linen or wood for a warmer editorial feel, to full lifestyle settings for storytelling led brands.
A practical rule that holds up across most catalogs: keep the primary product shot on a neutral or white background for clarity and consistency, then use a secondary lifestyle or textured shot to add personality. Shoppers scanning quickly need the clean shot first. The mood shot earns its place second.
Lighting Setup That Actually Works
Diffused, even lighting is close to non negotiable for clothing photography. Harsh direct light creates shadows that obscure texture and distort color, which is a real problem when a customer is trying to judge fabric quality from a screen rather than in hand.
A simple two light setup with softboxes positioned at roughly 45 degree angles to the garment, paired with a reflector to fill in shadows, covers most needs without requiring a large studio budget. Natural light from a large north facing window can work as a substitute for smaller operations, particularly for flat lay work, though it's less consistent across different times of day and weather, which makes it harder to match across a large batch of shots.
Color accuracy deserves its own mention here because it's where many stores quietly lose money through returns. If a garment photographs noticeably warmer or cooler than its true color, customers order expecting one thing and receive another. A color checker card used during setup, combined with consistent white balance settings, helps prevent this drift across an entire shoot.
Step by Step Clothing Photography Workflow
A repeatable workflow is what actually keeps a catalog consistent, more than any single piece of gear. Here's the sequence most professional setups follow.
Prep the garment. Steam or press it, check for loose threads, tags, or lint, and confirm it's the correct size and color variant before it goes in front of the camera.
Set white balance and exposure. Use the color checker card under the shoot's actual lighting, not a previous session's settings, since even small changes in bulb age or room light can shift results.
Style or mount the garment. Lay it flat, dress the mannequin, or fit it to the model, depending on the method chosen for that product category.
Shoot multiple angles. Front, back, close up detail shots of fabric and stitching, and any relevant tags or labels the customer would want to see.
Review on screen before moving on. Checking a shot at full size on a monitor, not just the camera's small display, catches wrinkles, shadows, or focus issues while the setup is still in place.
Edit in batches. Apply consistent color correction, background cleanup, and cropping across the full shoot rather than adjusting each image in isolation, which is what keeps a catalog looking unified.
Export to spec. Resize and format images to match the requirements of each platform they'll be used on, since a single master file rarely fits every channel's rules.
Common Clothing Photography Mistakes
Even experienced sellers repeat a handful of avoidable errors.
- Inconsistent white balance across a shoot, so some products look warmer or cooler than others in the same catalog.
- Shooting wrinkled or poorly steamed garments, which reads as a quality issue even when the product itself is fine.
- Using too few angles, leaving shoppers without the detail shots that build confidence in fit and fabric.
- Skipping a color checker, which leads to color drift that only becomes obvious after returns start coming in.
- Overediting, where heavy retouching makes colors or textures look artificial and creates a mismatch with the product on arrival.
- Ignoring platform specifications, resulting in images that get flagged, cropped awkwardly, or rejected by a marketplace.
Ecommerce Image Requirements
Different sales channels enforce different technical standards, and getting these wrong causes friction that has nothing to do with photography quality.
Most marketplaces request square images, commonly at least 1000 by 1000 pixels, on a pure white background for the primary listing photo, with sRGB color space and no added text, watermarks, or logos on that main image. Shopify and similar platforms are more flexible on background and styling but still benefit from consistent aspect ratios across a collection, since mismatched image sizes create a visibly uneven storefront grid. Because most shopping now happens on mobile, images should also be checked at phone screen size, not just on a desktop monitor, to confirm that key details like stitching or print placement remain legible after cropping and compression.
Creative Approaches Beyond the Standard Catalog Shot
Creative clothing photography earns attention precisely because so much of the category defaults to safe, static catalog images. Movement shots, where fabric is caught mid motion, communicate drape and weight in ways a still pose never will. Detail shots of stitching, buttons, or fabric texture build trust around craftsmanship and can help justify premium pricing. Styled outfit shots showing a single piece worn multiple ways demonstrate versatility, which can support higher average order value as shoppers picture buying complementary pieces.
None of this replaces the clean product shot. It supplements it. A listing built entirely around creative or artistic shots without a clear, well-lit standard image often underperforms, because shoppers still need that one unambiguous view before anything else lands.
Professional Clothing Photography: What Separates It From DIY
The gap between amateur and professional clothing product photography usually comes down to consistency, not any single dramatic technique. A professional setup produces the same lighting, color balance, and framing across hundreds of products in a catalog. An inconsistent catalog, where lighting shifts subtly from batch to batch, quietly undermines trust even when individual photos look fine in isolation.
Professional work also accounts for post-production properly: clean background removal, accurate clipping paths around complex edges like hair or loose fabric, and color grading that matches across an entire collection rather than being corrected image by image with no shared standard.
Clothing Photography for Ecommerce: The Business Case
For an e-commerce brand, photography is a direct lever on two numbers that matter more than almost anything else: conversion rate and return rate. Accurate, well-lit, multi-angle photography narrows the gap between customer expectation and reality, which is one of the more common drivers of clothing returns. Better imagery can support stronger engagement and add-to-cart rates by helping shoppers understand the product and make more confident purchasing decisions.
Brands weighing in-house photography against outsourcing usually find the calculation shifts once the catalog size passes a certain point. A small collection of twenty to thirty items can often be handled reasonably well in house with a modest setup. Larger or fast-moving catalogs, especially those adding new SKUs weekly, tend to benefit from a dedicated studio partner who can maintain consistency at volume without the learning curve and equipment cost of building it internally.
Turning Product Photos Into Your Best Salesperson
Clothing photography isn't one skill. It's a combination of equipment, technique, workflow discipline, and business judgment about where a brand's budget is best spent. The stores that get it right treat their product photos the same way they'd treat a physical storefront: as the first and most persuasive impression a customer forms before deciding whether to trust the brand with their money.
If steamers, softboxes, and batch editing sound like more than your team wants to take on in house, that's exactly the gap a dedicated ecommerce photography studio is built to close, handling equipment, consistency, and platform specs so your catalog looks the same, and performs the same, from your first product to your five hundredth.
Read next
Apparel Photography: Stop Losing Sales to Bad Photos
